Email format error
Email cannot be empty
Email already exists
6-20 characters(letters plus numbers only)
The password is inconsistent
Email format error
Email cannot be empty
Email does not exist
6-20 characters(letters plus numbers only)
The password is inconsistent

News
Happy Arts & Crafts , your reliable partner for OEM/ODM business!

what type of toys do newborns like?
This should provide you with an understanding of which toys are essential for your newborn baby.Newborn play ideas include smiling, blowing raspberries and having tummy time.We looked for toys that encourage social and emotional skills, physical development, and cognitive development, as well as toys that encourage sensory play and build fine and gross motor skills.Choosing toys for children The best toys for kids spark imagination, creativity and problem-solving skills.Choose toys from a range that has been designed to be visually appealing with bright colours and textures.Imaginary play is a large part of a child's social and emotional development.This guide helps you understand when to give your baby toys, which toys are appropriate for their age group and expert insights.You'll find our recommendations for the best toys for newborns, which help babies develop, learn, and have plenty of fun during those first few months.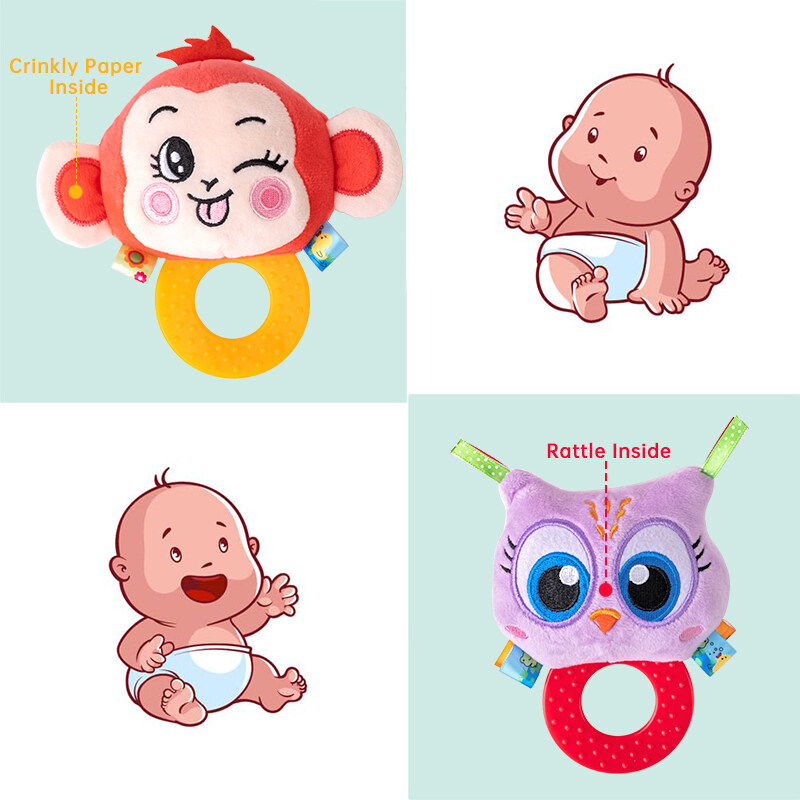
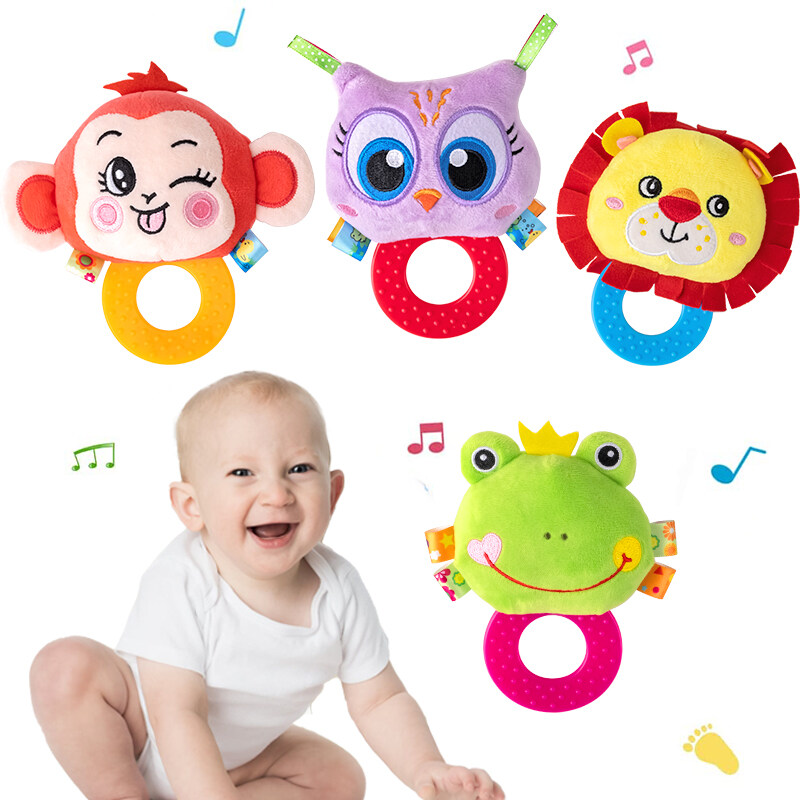
1. Rattles
As a parent, you might want to know how to get your little one familiar and comfortable using rattles. Rattles stimulate a baby’s hearing, which is important for early development. That's why it's important to maximize the potential of rattles in your child’s life. Here are some tips on how you can use them:
1. Introduce the Rattle Early
Introducing an infant to a rattle during their first few months will be beneficial in their longterm hearing development and ability to recognize sound patterns. Birth-to-three months is an ideal time frame to introduce the object because that’s when babies start developing their senses. Talk to them about what they’re seeing, shaking and listening too so that they better understand the textures, physical elements and sounds associated with the rattle.
2. Hold Your Baby While They Rattle
Hold your little one close when they are playing with the rattle so that you can observe how they are moving it around, examining it and making noise with it. This way, you can provide feedback as necessary before any inappropriate behaviors arise and potentially harm them. Plus, this gives them a sense of security knowing that mom or dad is by their side when exploring something new!
3. Put It in Their Reach
Place rattles within your baby's reach if you feel comfortable doing so (as long as they don't pose any immediate danger). This allows themtime alone with the object while still being able to interact safely - plus it can help boost self-confidence knowing they're controlling the object themselves! Make sure that the rattle isn't too heavy or large soyour baby won't struggle with manipulating it in any way - bigger isn't always better!
4. Offer Different Types of Rattles Rattles come in all shapes and sizes – from simple stick rattles made from softwood (that make great teether toys!) To intricate noisemaking machines perfect for stimulating toddlers . Introduce different types of materials such as wooden, plastic or fabric along with visually appealing designs like animals which can enhance exploration skills even further!
5. Keep It Fun & Interactive When playing together find out what kind of motions evoke different sound combinations for longer entertaining periods — figure out if held up high or low produces different tones — experiment through trial and error alongside your baby! Be creative & find fun ways out together wherever possible – observe & enjoy those lovely gummy smiles & giggling moments shared over this special bonding experience! there's this musical toy from Baby Einstein.
2. Large Squeeze Toys
Do you need a stress reliever or just something to help you pass the time? Large squeezable toys are the answer. These toys come in all sorts of shapes, colors, and designs – some are even scented! Here's an easy guide on how to use large squeeze toys:
1. Ready Your Hands: Before using a large squeeze toy, be sure to prep your hands. Apply little bit of lotion (if needed) as this will help reduce friction when squeezing and also make it easier to manipulate the toy.
2. Select a Desired Position: Decide if you want to sit or stand while using the squeeze toy. Depending on which position works best for you, it may allow for better control when manipulating the toy and for increased comfortability during use.
3. Squeeze Away: Now comes the fun part – time to squeeze! Have patience as it may take some time before finding that “sweet spot” where you’re comfortable with its consistency and strength when squeezed. The goal is to find that medium between being able to shape it into various positions and being able to keep its form once released from your grip.
4. Manipulate Its Form: Once you’ve found that ideal squishiness when squeezing, now comes time to begin manipulating its form by creating different angles and dimensions with it after each release from your grip. With practice, soon enough you should become somewhat skillful at controlling how it forms each time!
5. Shake It Up: To add more variation into playing with your large squeezable toy, try shaking it up quite literally - gently shake it in mid-air while keeping both hands firmly held around its body shape as if forming a ball with your forearms close around it - this technique helps prevent pieces from breaking off due to rough shakes/handling throughout playtime!
6. Have Fun!: Most importantly don’t forget that these large squeezable toys are meant for fun - have a blast experimenting with their various shapes and sizes through manipulation!
3. Soft Fabric Books
Are you in the market for a new book for your little one? If yes, then you may be interested in soft fabric books. Soft fabric books are the perfect introduction to storytelling and reading for small children as they provide tactile stimulation and sensory input. They are also safe and very durable – making them perfect for babies who just love to chew on anything they can get their hands on! Here’s a list of steps you need to take if you want to create your own soft fabric book:
1. Get Your Materials Ready
Before diving into creating your soft fabric book, it’s important to have all the materials and tools ready. You will need a few pieces of cloth or felt material, adhesive such as glue or fusible webbing (optional), scissors, and any decorations you might want to add like ribbons, buttons or beads.
2. Cut Out The Pieces
Using the materials gathered, cut out at least three different shapes from each piece of felt/fabric such as circles, squares, triangles and rectangles – these will form your pages once sewn together. Thinner fabrics like pieces of silk and organza may require special care before cutting; putting interfacing on both sides before cutting helps give even more durability to the finished book. Make sure that all pieces are big enough so that when folded in half there is room for words/pictures/etc along each edge.
3. Sew It All Together & Decorate (Optional)
Next it’s time to start assembling your soft fabric book by taking two edges of each piece created in step 2 and sewing them together with a sewing machine. If desired, use decorative trims she found- either sew them using a sewing machine or use techniques like iron-on transfer or simply glueing it onto the fabric panels used earlier depending on your preference.
4. Finishing Touches & Laminating (Optional)
Once all your shapes have been sewn together with trims added where desired, it’s time to apply a protective cover over the entire piece using laminating sheets cut down in size which should fit right over everything sewn alike protecting against spills (especially milk!) - an often overlooked step for kids books but one recommended highly for areas prone moisture exposure outdoors or at bath times indoors. Finally add some final touches such as eyelets & reinforced stitching around every corner- be sure not too tug too hard though!
Foster a love of reading from day one by getting some simple cloth baby books or board books.
Toys for babies also enthrall with bright colors, intricate patterns, buttons and levers that respond to their touch, interesting noises, and varied textures.
But before you fork out a fortune in brand new baby toys, let's take a look at what toys your baby actually does need, when they can start playing with infant toys and what are the best toys for baby.
Language development: To encourage babbling, the Learning Friends 100 Words Book is fun, interactive, and can be used throughout the first year.
Babies have an easier time focusing on high contrast objects during this stage of development.
Supporting your child's visual development helps to set their sight on success!
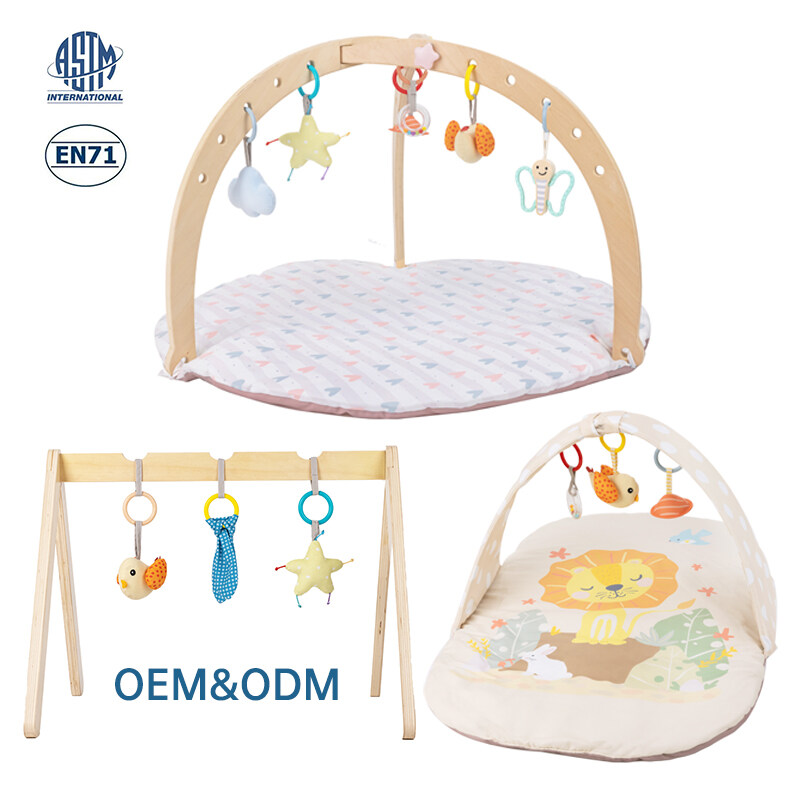
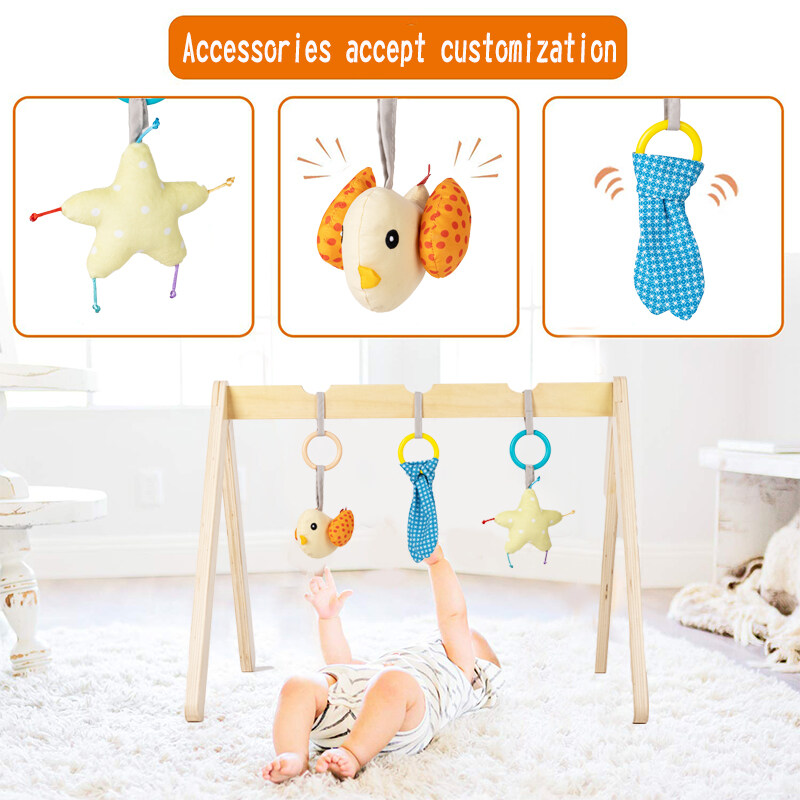
4. Mobiles
If you’re a new parent, or even an experienced one, giving your baby the gift of sight can be an amazing experience. That's why having a baby mobile is important. Baby mobiles are designed to provide visual stimulation for infants who may not yet be able to choose their own toys. Whether it’s homemade or store-bought, here’s how to find and setup the perfect baby mobile toy for your little one:
1. Decide on a Theme
The first step in finding the perfect baby mobile is deciding on a theme that fits your style, budget and overall decoration scheme. Mobiles can range from geometric shapes to nature themes, safari animals to ocean creatures — so it pays to do your research and shop around to find one that fits with both yours and your baby’s tastes.
2. Consider Mobility Options
When shopping for a baby mobile, there are two main options: wind-up mobiles or battery-operated ones. Wind up mobiles usually cost less than battery operated ones but require you to wind them every couple of hours in order for them to continue working – but ultimately it depends on what works best for you and your schedule.
3. Look at Safety Features
Safety is paramount when buying any type of toy for babies so make sure that any mobile you buy has been vetted by Consumer Reports as safe for use by children under three years old (preferably under 1 year). Some models have anti-suffocation features like straps with adjustable locks that keep toys away from babies' faces during use, while others have more basic safety features such as padding on moving parts or tassels that don't move too fast near little hands and eyes.
4. Setup the Mobile Properly
Once you've found the perfect baby mobile, it's time to set it up properly before exposing it to your child. This includes attaching all of the pieces securely according EN7/Saftey standards set forth by consumer product companies like Fisher Price european fisher price world etc You'll also want to ensure that the height of the mobile is adjusted accurately according size of area you will placeit secondly take considerate safety measures regardless the fact if its installed properly make sure constant supervisioin is requied whileenjoying its beauty . That way if an accident should occur during playtime there won't be any injuries due negligence Lastly put any loose pieces far out reach from curious fingers!
5 Enjoy watching Your Little One Experience Your Mobile
Once everything has been installed safely, sit back and watch as your little one pays close attention and interacts with their new mobile toy! Babies can observe how materials move depending on speed or even small interactions made using soundwaves - which will help develop fine motor skills later in life!
Baby gyms can help to keep your baby amused during tummy time.
These types of toys support fine motor skills and can improve language and brain development.
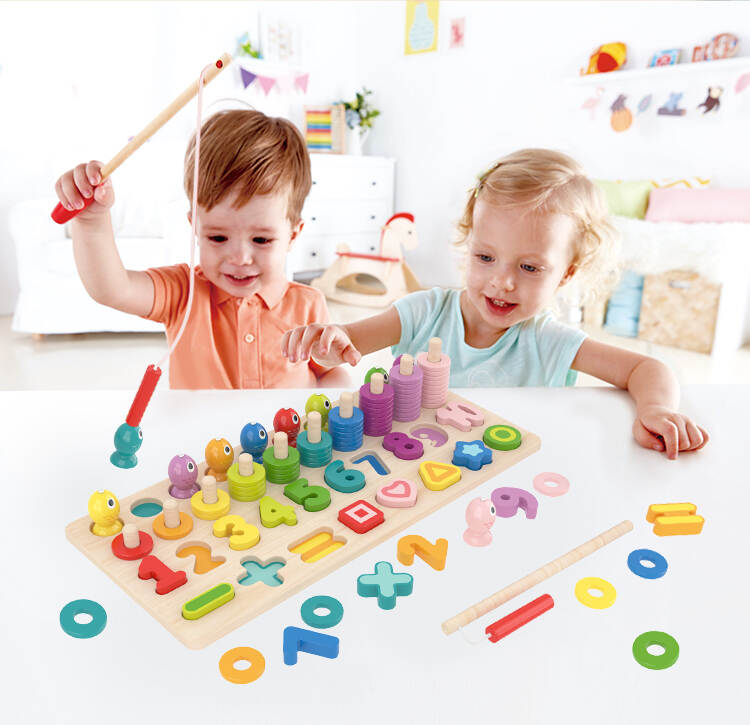
5. Building Blocks and Stacker Sets
Are you looking for a way to create fun and imaginative playtime experiences for your children? Building blocks and stacker sets are a fantastic way to engage your child’s creativity and help them learn about shapes, numbers and sizes. Here is how to get started:
1. Invest in Quality Materials
The first step when starting out with building blocks and stacker sets is selecting the right materials. Choose high quality wooden or plastic pieces that are void of sharp edges, corners, or points. It is important to ensure there are no small pieces that a child could choke on.
2. Start Simple
If this is your child’s first time playing with the set, start with easier structures like stacks of block squares or circles arranged in an alternating pattern. As your little one gets more comfortable putting the pieces together they can investigate ways to create more complex designs like castles or houses.
3. Add Variety
You can find building blocks and stacker sets in different nature-inspired shapes such as animals, trees, leaves and flowers that add fun new elements to the mix! These can be incorporated into their larger structures alongside classic square and circular blocks which will open the door for more imaginative playtime experiences!
4. Incorporate Plastic Shapes
For those who have already mastered working with traditional shaped blocks but want something new, consider incorporating some plastic shapes into their block sets! The geometric shapes can give them an extra challenge when constructing 3D models or scenes from every day objects like food items or family members!
5. Stress Size Recognition
Building block and stacker sets provide a great opportunity for introducing size recognition skills! Point out how different sized squares make up various patterns as you build towers together – this will make an excellent learning experience for your toddler as they observe this concept come alive in front of their eyes!
6. Double Up On Pieces
Try doubling up the pieces so that at least one of everything included in the set has two copies—this way, when providing lessons on counting numbers it is much easier than having only one piece available per item count! This will also teach basic math skills as they begin to associate number values with each corresponding piece in order to complete tasks assigned by you (or themselves!)
They will be exposed to new and different colors, shapes and images and practice their hand-eye coordination by turning the pages.
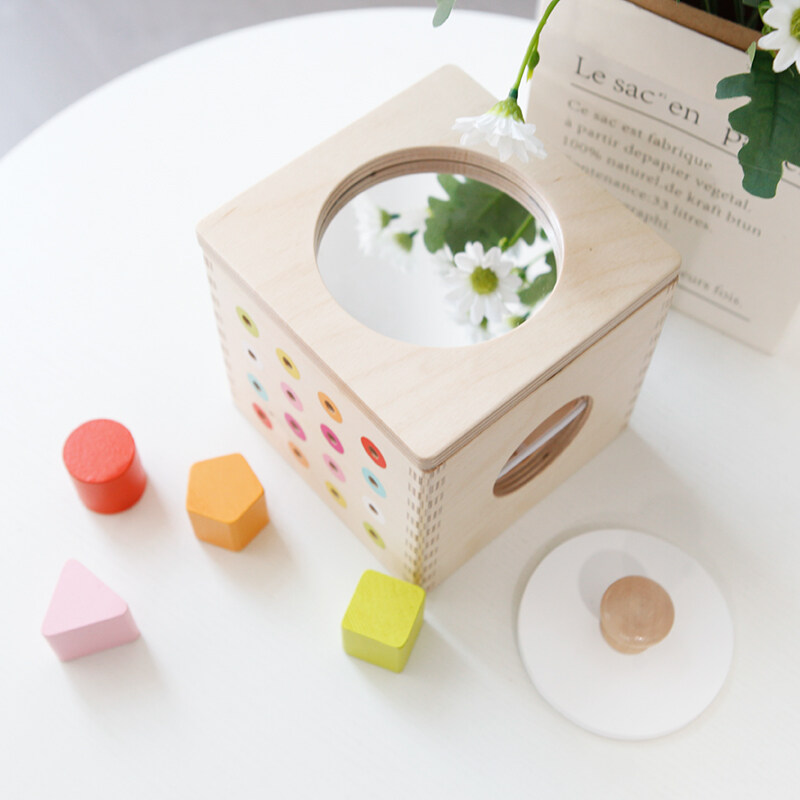
6. Mirrors
Mirrors are an essential tool for teaching babies about the world. It is impossible for a child to learn without any visual stimulation, so providing them with a baby mirror is essential. After all, as adults we are exposed to our own reflections every day and why shouldn’t babes be exposed to their own? This guide will provide you with all the information you need on how to pick the perfect baby mirrors toy.
1. Pick a Suitable Size
The size of the mirror should be appropriate for your baby’s age and level of development. Too small might cause babies to become frustrated and too large could overwhelm them. Look for mirrors that measure between 7-8” in size as they will capture your little ones attention but won’t overwhelm them.
2. Choose Durable Materials
Babies can get very rough when playing with their toys and mirrors need to be able to stand up to those kind of activities without warping or chipping away quickly. Look for materials like plastics orwooden frames which are both durable enough for your child's playtime antics but also lightweight and easy for them handle on their own.
3. Look For Bright Colors and Patterns
Choose bright colors in order to help keep your baby's eyes focused on the activity at hand rather than letting their minds wander off somewhere else! You can also opt for multi-colored patterns or educational designs such shapes, animals, numbers etc to add an extra element of fun while they explore themselves in the mirror or use it during pretend play scenarios!
4. Check For Prominent Handles
Your little one will eventually start dragging these toys around with them everywhere, so look out for prominent handles that offer easy gripping and carrying power when not in use - all without sacrificing safety (no sharp edges please!). Additionally, some models come with built-in handles so you can hang it up easily when not in use – saving you from having to sweep up dropped pieces every other day!
5. Select Age Appropriate Mirrors
Lastly, make sure whatever you select has content that is suitablefor their age level – i.e no overly complicated reflection puzzles requiring knowledge they don't have yet! Age appropriate mirrors may include motion switches which activate lights & soundsfor younger children up through reflective drawings which older children can recognize and copy once they understand the concept a bit better!
Looking at themself in a mirror Knows familiar people Blows “raspberries” Reaches to grab a toy Rolls from tummy to back Beginning to sit without support Try this: A quick, simple game of peekaboo with your 5-month-old baby can start to teach complex concepts such as object permanence and social development.
The toy features a baby-safe mirror framed with contrasting black-and-white and primary-color images and patterns, all of which will help develop baby's vision.
7. Squishy Balls or Blocks
Do you have kids who love to play with squishy balls or blocks? Whether they’re playing with their own sets at home or in the classroom, here are some tips to ensure that both the kids and the squishy toys remain safe and happy:
1. Choose Safe Materials
When purchasing squishy balls or blocks for children to play with, make sure you choose products made from safe materials. Look for ones that are labeled as non-toxic, free from phthalates and lead-free.
2. Spot Check Toys Regularly
Inspect all of your toys on a regular basis for any signs of damage like cracks, exposed objects, peeling paint, etc., and make sure to discard them if you find any of these. It’s also important to spot check for sharp edges that could cut little fingers or toes when handling the blocks or balls.
3. Wash Squishy Balls & Blocks With Soap & Water
It's important to washing your squishies regularly using mild soapy water and a damp cloth - especially if they’ve been used outside by multiple children. This will help keep them clean and germ-free while they’re in use by multiple players inside or out. At least once every two weeks is recommended.
4. Set up a Washing Schedule
Create a washing schedule so that everybody remembers to wash the toys regularly before they get played with again. Post it somewhere near where the kids have organized their play so everyone can remember it easily - this will prevent germs from spreading during group play time!
5. Teach Kids Proper Care Instructions
Teach your children proper care instructions for playing with their squishies, like not to pull too hard on them or cram things into too tight a space - these can cause damaging tears on even the sturdiest of foam materials! Setting rules about behavior around foam playsets help everyone maintain organization and respect throughout playtime sessions each day!
8. Cloth dolls
Cloth dolls are a popular craft and gift item. They can be simple or as intricate and complex as you want to make them. Over the years, they have become an important part of many cultures. Whether it's creating a cloth doll for yourself or as a present for somebody special, here’s how to make your own beautiful cloth doll.
1. Choose Your Fabric
When choosing fabrics for your cloth doll, the possibilities are endless! You can choose any type of fabric that matches your personal style or the style of the person you’re making the doll for. If you're new to sewing with fabric, start with lightweight cottons and cotton blends. Keep in mind that if you are going to add decorations such as sequins and buttons, heavier-weight materials such as denim may be more durable for embellishment than lightweight material like organza or chiffon.
2. Cut Out the Doll Pieces
Once you have selected your fabric, lay it out on a flat surface with wrong side up and fold it in half lengthwise so that the wrong sides are folded together. Next, use pattern paper to make the patterns of your cloth dolls by tracing out shapes onto paper using a pencil or marker (the patterns will depend on what kind of doll you want to make). Cut out each piece along its outline with sharp scissors before transferring them onto their respective fabrics with chalk or tailor’s carbon (available at most craft stores). Make sure that when cutting out pieces from patterned fabric that none of the motifs get lost by giving each piece extra space around its borders for seam allowances when cutting them out from the fabric.
3 Sew Together The Pieces
Once all of your pieces have been cut from their respective papers and fabrics (with seam allowances added), begin stitching them together using a basic running stitch across all exposed edges. Make sure not to leave any gaps between stitches so that everything stays securely attached when turning right side out later on in this process. It will also help when stuffing your doll later on; this way there won’t be any lumps where stuffing might escape through tiny seams!
4 Stuff And Close Up The Doll
Now comes one of the fun parts – stuffing! Stuffing is probably one of my favorite parts because it really brings life into whatever I’m making! When stuffing your cloth doll be generous; only stuff enough so that it keeps its shape but doesn’t become too stiff once finished sewing all around again .Finally gown up close up the opening created by leaving one end unstitched earlier by hand-stitching it closed neatly
5 Embellish and Decorate
Now comes another favorite part – decorating ! This is where almost anything goes depending on what kind of embellishment or decoration desired .You may opt to sew sequins , beads , ribbons , applique and other bits around necklines , arms etc.. Or if feeling inspired expressing yourself further then might even go ahead paint entire figure with textile paints .Just remember whatever chosen should feel true self but do look neat when finished ! Show off creative masterpiece !You might also like Why play is important Play is more than just fun for baby and children.By four months of age, babies have developed vital skills that help them learn, vocalize, move, and play.4 Toys can help babies reach developmental milestones.Engaging with your baby while using facial expressions, gestures, and vocalizations can help with social development with no need for expensive electronic toys.Promote motor development, self-regulation, and peer interaction with toys that encourage physical activity.
